
Dokumentacja fotograficzna usterek budowlanych
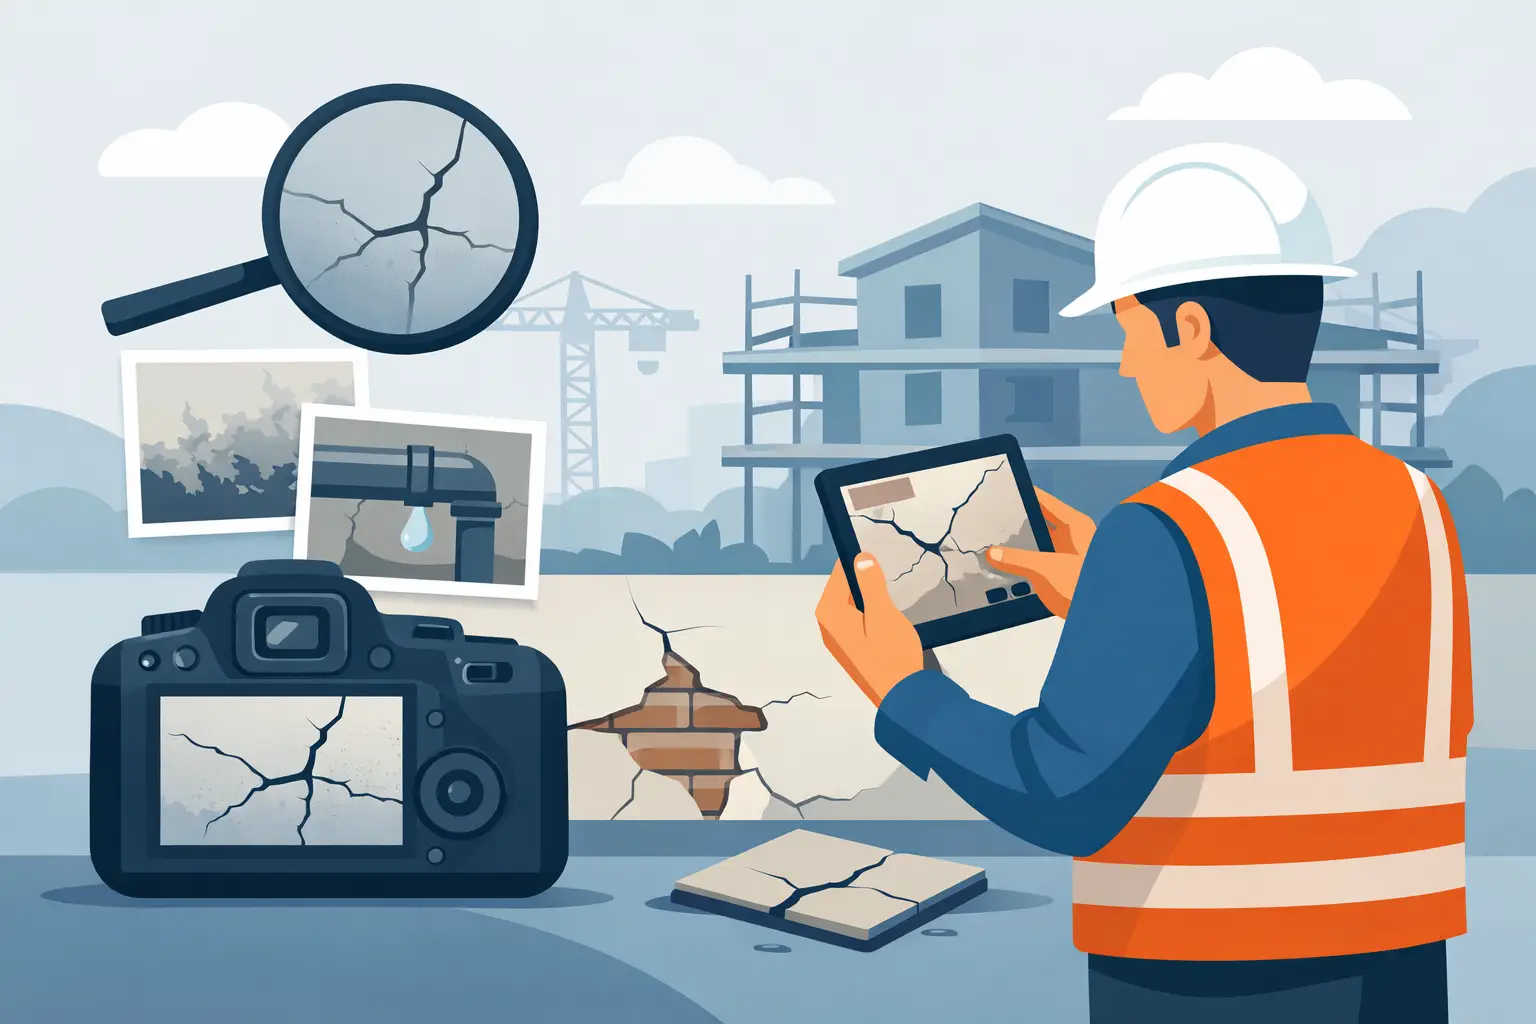
Zdjęcie pęknięcia na ścianie bez wskazania lokalu, osi, kondygnacji i daty jest tylko zdjęciem. Nie rozstrzyga, czego dotyczy zgłoszenie, kto ma wykonać poprawkę ani czy przedstawia stan przed naprawą czy po niej. Dobrze prowadzona dokumentacja fotograficzna usterek budowlanych zamienia obraz z telefonu w jednoznaczny element procesu jakościowego - od zgłoszenia, przez przypisanie odpowiedzialności, po potwierdzone zamknięcie.
Na budowie i podczas odbiorów zdjęcia powstają szybko. Problem zaczyna się później, gdy trafiają do komunikatorów, prywatnych galerii telefonów, maili lub katalogów nazwanych „usterki final”. Po kilku tygodniach trudno ustalić, które zdjęcie dotyczy którego pomieszczenia, czy wada została już usunięta oraz kto zaakceptował efekt prac. Kosztuje to czas, tworzy pole do sporów i osłabia pozycję strony, która musi odtworzyć przebieg ustaleń.
Dlaczego samo zdjęcie nie wystarcza
Fotografia ma wartość dowodową i operacyjną wtedy, gdy jest osadzona w kontekście. Osoba wykonująca poprawkę musi wiedzieć nie tylko, jak wygląda wada, lecz także gdzie dokładnie się znajduje, jaki jest jej oczekiwany zakres oraz do kiedy należy ją usunąć. Kierownik projektu i inwestor potrzebują z kolei informacji o statusie, historii zmian i osobie odpowiedzialnej.
Przykład jest prosty: fotografia uszkodzonej płytki pokazuje problem, ale nie wyjaśnia, czy chodzi o łazienkę w lokalu B-214, korytarz na drugim piętrze czy część wspólną. Nie wskazuje też, czy wymianie podlega jedna płytka, cała seria o innym odcieniu czy również uszkodzona fuga. Precyzyjny opis oraz punkt na rzucie eliminują domysły jeszcze przed przekazaniem zadania wykonawcy.
Zdjęcia nie powinny zastępować protokołu odbiorowego. Powinny go wzmacniać. Protokół porządkuje listę niezgodności, terminy i odpowiedzialności, a fotografia pozwala jasno pokazać stan faktyczny. Dopiero połączenie obu elementów daje materiał użyteczny przy koordynacji prac i ewentualnych rozliczeniach.
Jak wykonywać zdjęcia usterek, które pomagają w naprawie
Jedna wada rzadko powinna być przedstawiona pojedynczą fotografią. Najczęściej potrzebne są co najmniej dwa ujęcia: szersze, pokazujące miejsce w pomieszczeniu lub na elewacji, oraz zbliżenie obrazujące szczegół. Przy rysach, odchyłkach, nierównościach i uszkodzeniach warto dodać skalę - miarkę, łatę, poziomicę albo inny punkt odniesienia odpowiedni do rodzaju usterki.
Ujęcie ogólne odpowiada na pytanie „gdzie?”, a detal na pytanie „co dokładnie?”. Jeśli wada dotyczy elementu powtarzalnego, na przykład okna, grzejnika lub płytki, fotografia powinna umożliwiać jego identyfikację. W przeciwnym razie brygada może naprawić właściwy typ problemu, ale w niewłaściwym miejscu.
Nie należy poprawiać zdjęć filtrami ani kadrować ich w sposób, który ukrywa otoczenie wady. Obraz ma przedstawiać stan rzeczywisty. Dobre światło, ostrość i właściwy kadr są potrzebne, ale celem nie jest estetyczna relacja z budowy. Celem jest czytelność dla osoby, która pojawi się na miejscu później i nie będzie znała okoliczności zgłoszenia.
W praktyce warto przyjąć jeden standard pracy dla całego zespołu:
- najpierw ujęcie lokalizacyjne, następnie zbliżenie wady;
- przy wadach mierzalnych - zdjęcie z widoczną skalą;
- osobne fotografie przed naprawą i po naprawie;
- brak mieszania kilku niezależnych usterek w jednym zgłoszeniu;
- krótki opis wskazujący element, zakres poprawki i oczekiwany rezultat.
Taki standard nie musi spowalniać odbioru. Przeciwnie - ogranicza telefony z pytaniami, ponowne wizyty w lokalu i ręczne porządkowanie materiału po zakończeniu obchodu.
Zdjęcie przed naprawą i zdjęcie po naprawie
Fotografia przed naprawą dokumentuje podstawę zgłoszenia. Powinna pokazywać wadę w sposób wystarczający do oceny jej zakresu. Zdjęcie po naprawie ma natomiast potwierdzić rezultat, a nie tylko obecność wykonawcy na miejscu. Warto zachować zbliżony kadr i perspektywę, aby łatwo porównać oba stany.
Nie każda usterka daje się potwierdzić samą fotografią. Nieszczelność, działanie instalacji, parametry wentylacji czy poprawność spadków mogą wymagać dodatkowego pomiaru, protokołu próby lub odbioru przez uprawnioną osobę. Zdjęcie pozostaje wtedy ważnym załącznikiem, ale nie powinno być jedynym potwierdzeniem usunięcia problemu.
Lokalizacja decyduje o użyteczności dokumentacji
Opis „sypialnia” albo „taras” bywa za mało precyzyjny, zwłaszcza na obiekcie z wieloma lokalami, powtarzalnymi kondygnacjami i kilkoma ekipami. Najpewniejszym rozwiązaniem jest oznaczenie punktu usterki bezpośrednio na aktualnym rzucie. Dzięki temu zdjęcie, opis i miejsce tworzą jeden rekord, którego nie trzeba interpretować.
Lokalizacja na planie jest szczególnie istotna przy odbiorach mieszkań, pracach wykończeniowych oraz usterek w częściach wspólnych. Umożliwia osobie koordynującej szybkie grupowanie zgłoszeń według budynku, piętra, lokalu, branży lub wykonawcy. Wykonawca otrzymuje z kolei jasną informację, dokąd ma pójść i czego szukać.
W systemie takim jak FixControl zgłoszenie można powiązać z punktem na rzucie, opisem, fotografiami, terminem oraz przypisaną firmą lub użytkownikiem. Zespół terenowy rejestruje problem na miejscu, a panel administracyjny zachowuje porządek w projektach, obiektach, użytkownikach i uprawnieniach. To różnica między kolekcją zdjęć a zarządzanym procesem usterek.
Opis usterki: krótko, ale bez niedomówień
Opis nie musi być długi. Ma pozwolić wykonać właściwą pracę bez serii dodatkowych pytań. Zamiast „poprawić ścianę”, lepiej zapisać: „Rysa pionowa przy ościeżnicy drzwi do pokoju 2, długość ok. 35 cm. Naprawić powierzchnię, odtworzyć strukturę i wykonać malowanie miejscowe w kolorze istniejącym”.
Przy zgłoszeniach warto oddzielać obserwację od oczekiwanego działania. Obserwacją jest na przykład odspojenie listwy przypodłogowej na długości około metra. Działaniem - ponowne zamocowanie, uzupełnienie wykończenia i sprawdzenie ciągłości przy sąsiednim narożniku. Taki zapis ułatwia ocenę, czy zgłoszenie rzeczywiście można zamknąć.
Jeżeli zakres nie jest jeszcze rozstrzygnięty, warto to zaznaczyć zamiast zgadywać. Czasem fotografia ujawnia objaw, ale przyczyna wymaga oględzin branżowych. Wtedy status zgłoszenia może wskazywać potrzebę weryfikacji, a nie od razu zlecenie konkretnej naprawy. To chroni przed pochopnym zamykaniem usterek i niepotrzebnymi poprawkami.
Historia zmian chroni proces odbiorowy
Przy większej liczbie zgłoszeń pamięć uczestników nie wystarcza. Potrzebna jest historia: kto dodał usterkę, kiedy przekazał ją wykonawcy, kto zmienił status, jakie zdjęcia dołączono po naprawie i kto potwierdził zamknięcie. Ma to znaczenie zarówno w codziennej koordynacji, jak i podczas rozmów o odpowiedzialności za opóźnienia czy koszty.
Historia nie służy szukaniu winnych dla samej zasady. Służy szybkiemu ustaleniu faktów. Jeśli wykonawca deklaruje zakończenie prac, a inspektor nie akceptuje efektu, zespół widzi pełną ścieżkę zgłoszenia i materiał, na podstawie którego podjęto decyzję. Znika potrzeba przeszukiwania skrzynek mailowych i grup komunikatorów.
Nie każda firma pracuje w tym samym modelu cyfrowym. Część wykonawców aktualizuje statusy bezpośrednio w aplikacji, inni oczekują uporządkowanego zestawienia do realizacji. Dlatego dokumentacja powinna dawać się przekazać również jako czytelny raport PDF lub Excel, bez utraty lokalizacji, zdjęć, opisów i terminów. Narzędzie ma porządkować rzeczywistą pracę zespołu, a nie wymuszać zmianę nawyków z dnia na dzień.
Dobrze wykonane zdjęcie nie zamyka usterki. Zamknięcie następuje dopiero wtedy, gdy fotografia, lokalizacja, opis, status i potwierdzenie odbioru tworzą spójną całość. Taki porządek pozwala przejść przez odbiór spokojniej - z jasnym zakresem prac, przypisaną odpowiedzialnością i materiałem, do którego można wrócić w każdej chwili.